Used To The Weight
5/5Wearing a shield doesn't slow you down as much.
This listed Myth 76-point route allocates 28 Mobility, 8 Conditioning and 40 Survival. Its Survival branch is the deepest among the listed 76-point routes, with maxed loot and carry skills. The 8-point Conditioning branch is the actual trade-off; do not confuse it with a lack of movement points.
Survival-heavy 76-point route with 28 Mobility, 8 Conditioning, and 40 Survival.
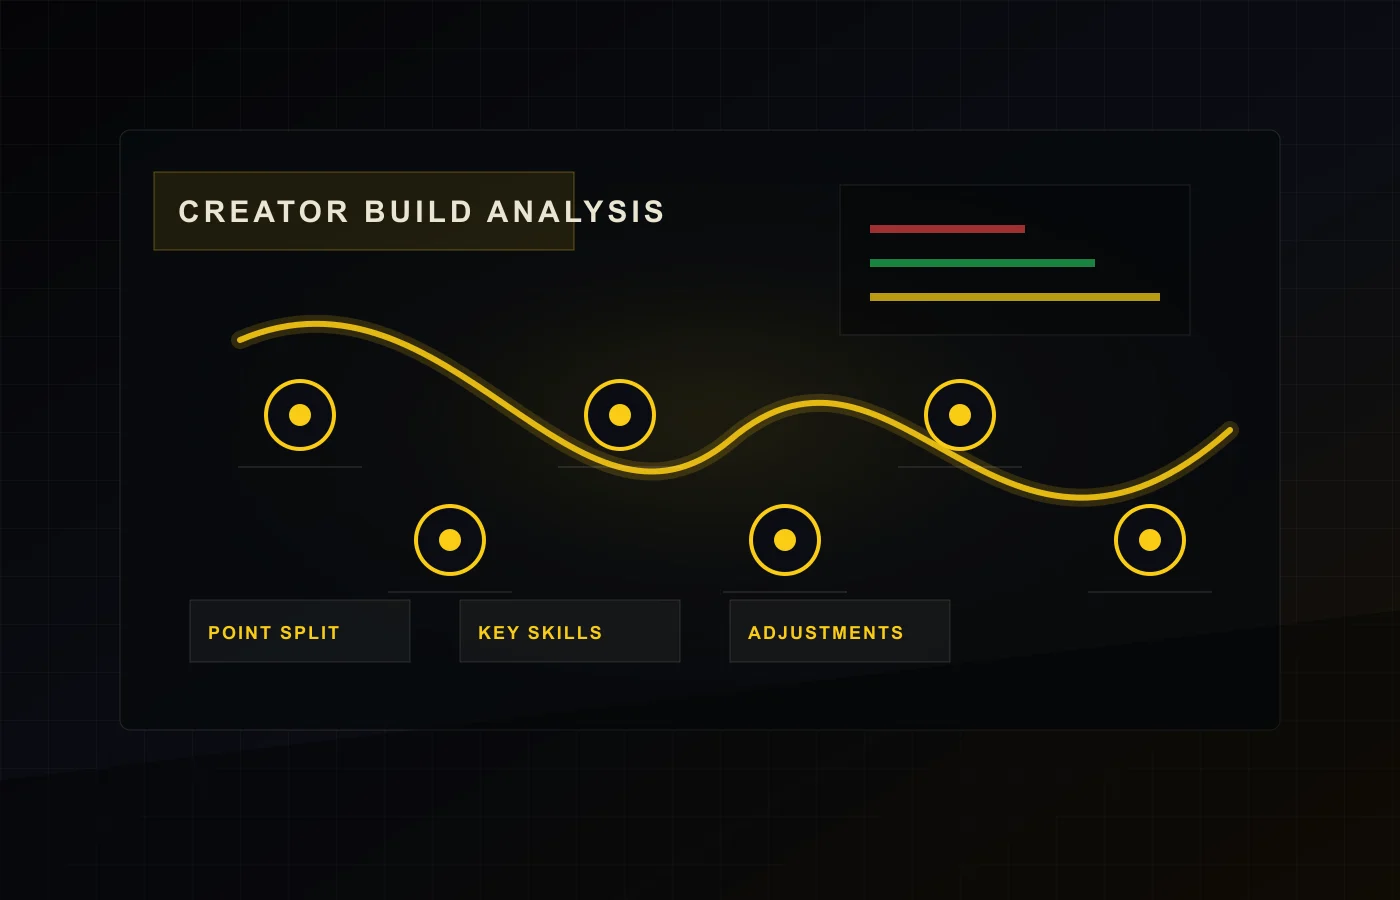
Build analysis
Myth / 76-point survival-max route / 76 points
Planner allocation checked; current game-patch compatibility and original creator publication remain unverified.
Creator
Survival-heavy 76-point route with 28 Mobility, 8 Conditioning, and 40 Survival.
Point split
Mobility / Conditioning / Survival distribution.
Listed date
Site-listed date. The exact creator post and its publication date have not been independently verified.
Wearing a shield doesn't slow you down as much.
Loot revealed faster.
Less noise when looting.
Max weight increased.
Over-encumbered stamina regen.
Recover quickly from exhaustion.
Analysis revised:
The build listed under Myth allocates 28 points to Mobility, eight to Conditioning and 40 to Survival, for a total of 76. Survival therefore receives more than half of the available allocation. That is a clear spending preference, but it should not be translated into a promise of better survival odds. The branch contains specific looting, carrying and utility effects, each with its own purpose.
The original creator publication for this exact configuration remains unverified, as does compatibility with the current game patch. This analysis describes what the site's imported code selects. Check the current game descriptions and your own account budget before copying it. The 76-point label is a property of this stored route, not a declaration of the current universal point cap.
All eight Conditioning points are accounted for by Used To The Weight at five ranks, Gentle Pressure at one and Proficient Pryer at two. In the planner, these concern shield-related slowdown, noise while breaching and breaching time. The route does not allocate points to Fight Or Flight or Turtle Crawl. Those absences are more informative than a general statement that Conditioning is “weak.”
If you want the stamina response described by Fight Or Flight, this code does not provide it. If you want Turtle Crawl's damage reduction while downed, it does not provide that either. Reaching either would require examining the prerequisite route, not simply moving one spare point. The configuration deliberately spends its limited budget elsewhere, and your decision is whether those other purchases fit your sessions better.
The 28 Mobility points include five ranks each in Nimble Climber, Marathon Runner, Slip and Slide, Youthful Lungs and Effortless Roll. Sturdy Ankles, Carry The Momentum and Calming Stroll receive one rank each. That allocation is incompatible with a blanket description such as “this build is extremely slow.” The code funds several distinct movement choices; their usefulness depends on how and when you use them.
Slip and Slide changes sliding according to the planner, while Effortless Roll concerns dodge-roll stamina cost. Calming Stroll concerns stamina regeneration while walking. These are different movement patterns. Read the conditions and compare them with your actual route before deciding that a skill is essential or wasted. A large Survival investment does not automatically erase the value of those 28 Mobility points.
Looter's Instincts, Silent Scavenger, Broad Shoulders, Stubborn Mule and Looter's Luck each have five ranks. Three Deep Breaths has four, Revitalizing Squat three, and Agile Croucher two. The remaining points select individual utility nodes, including In-round Crafting, Traveling Tinkerer, Security Breach and Minesweeper.
Several of these choices address different stages of a resource-oriented session. Looter's Instincts concerns revealing items while searching; Silent Scavenger concerns noise while looting. Broad Shoulders changes carry capacity, whereas Stubborn Mule addresses the stamina-regeneration effect of being over-encumbered. Security Breach allows breaching Security Lockers according to the planner. None of those descriptions guarantees that a route is uncontested or that an extraction will succeed.
| Listed route | Total | Mobility | Conditioning | Survival |
|---|---|---|---|---|
| Myth | 76 | 28 | 8 | 40 |
| Taxi2g PvE | 86 | 26 | 20 | 40 |
Both routes have 40 Survival points, but the Taxi2g PvE configuration has ten more points overall. It spends two fewer in Mobility and twelve more in Conditioning. Even the equal Survival total does not imply identical nodes: for example, the two allocations differ in Agile Croucher, Revitalizing Squat and Three Deep Breaths ranks.
Do not describe the larger route as a direct upgrade available for the same price. Decide whether you are comparing future targets or configurations you can use now. For a fair equal-budget comparison, you would need a separately validated adaptation. This page does not supply a tested 81- or 86-point Myth conversion.
First, do you actually use the deeper utility? If your sessions rarely include the activities funded by Security Breach or field crafting, identify those unused opportunities precisely. That does not automatically mean their prerequisite points can all be removed; inspect what depends on the same path before trimming it.
Second, is a missing Conditioning effect your recurring problem? If so, price the entire route to the desired node and identify what would be sacrificed. Saying “add more Conditioning” is not a finished recommendation. Third, are your movement choices aligned with the way you travel? A player who seldom slides may want to compare a different Mobility allocation, while still preserving the stamina and movement effects they do use.
Keep the original code, choose one coherent adaptation and record the specific problem it is meant to address. For example, distinguish “I want a different movement option” from “I want more access to containers.” Avoid changing both at once if you want to understand which choice helped. Inspect prerequisite legality and reopen the revised share link before using it as your working configuration.
When assessing the result, keep expectations separate from observations. A route that looks suitable for carrying loot does not establish a measured improvement in extraction value. Equipment, threats, navigation and the choice to leave remain outside the skill code. Use the planner to make the opportunity cost visible, then judge the experiment against the task you selected. Report discrepancies with the page URL and exact code so the underlying allocation can be checked.
Recommended templates for every playstyle
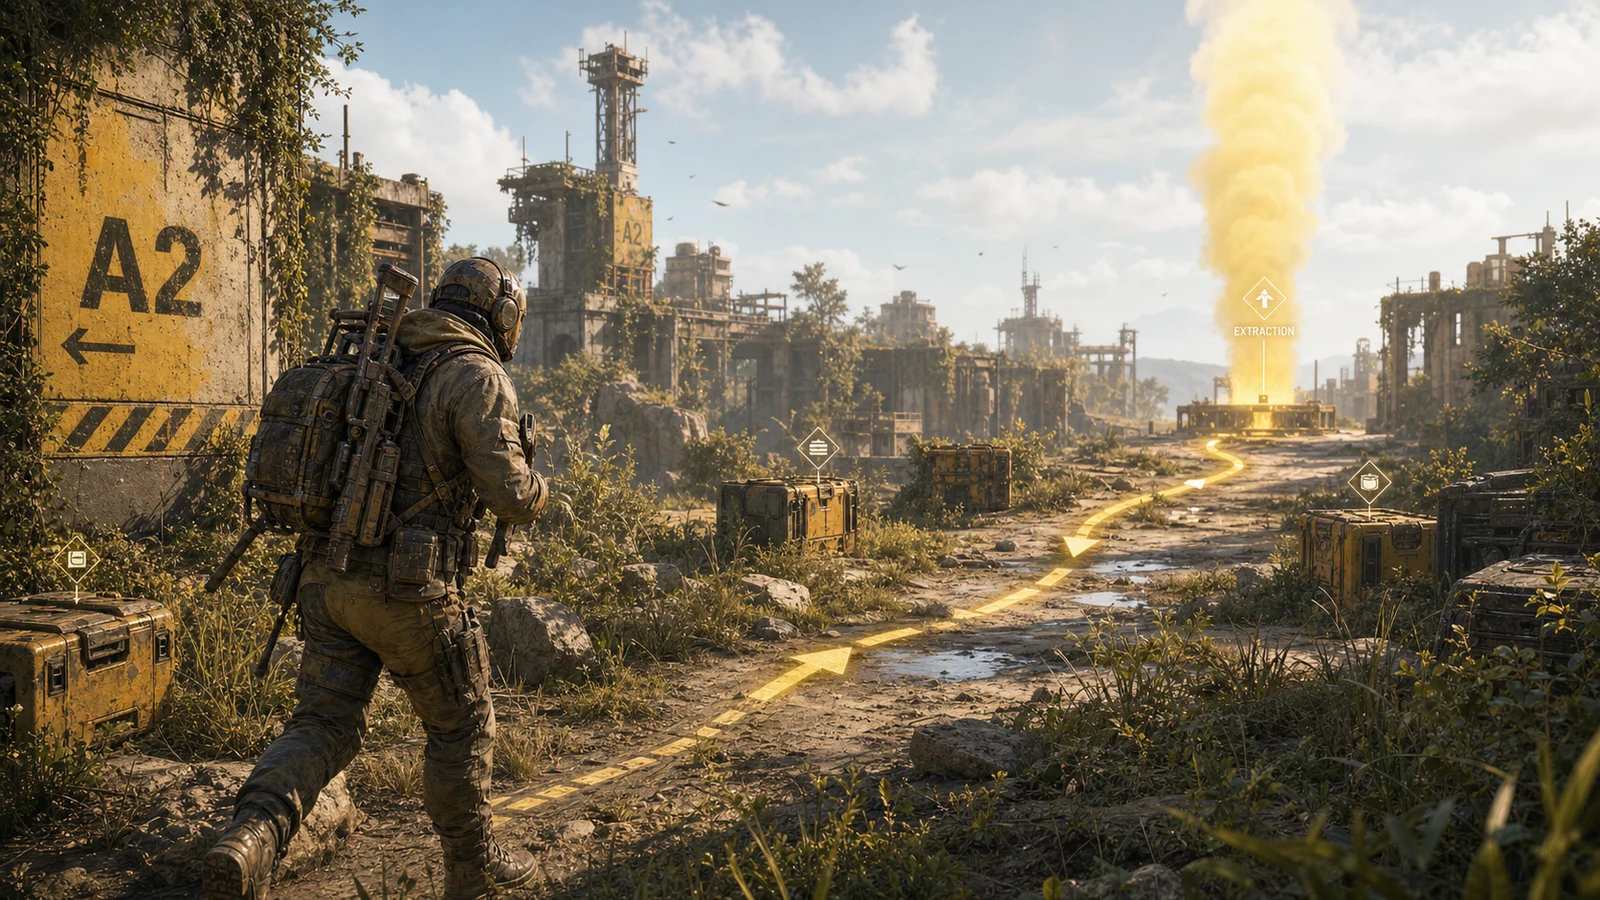
For Survival
Focuses on survivability and looting. Escape fights, regenerate stamina, and find more loot to make the most of your solo runs.
Use Build
For Competitive
Focuses on movement and survival perks to give you an edge on movement and stamina recovery during combat. Designed for high-end PvP.
Use Build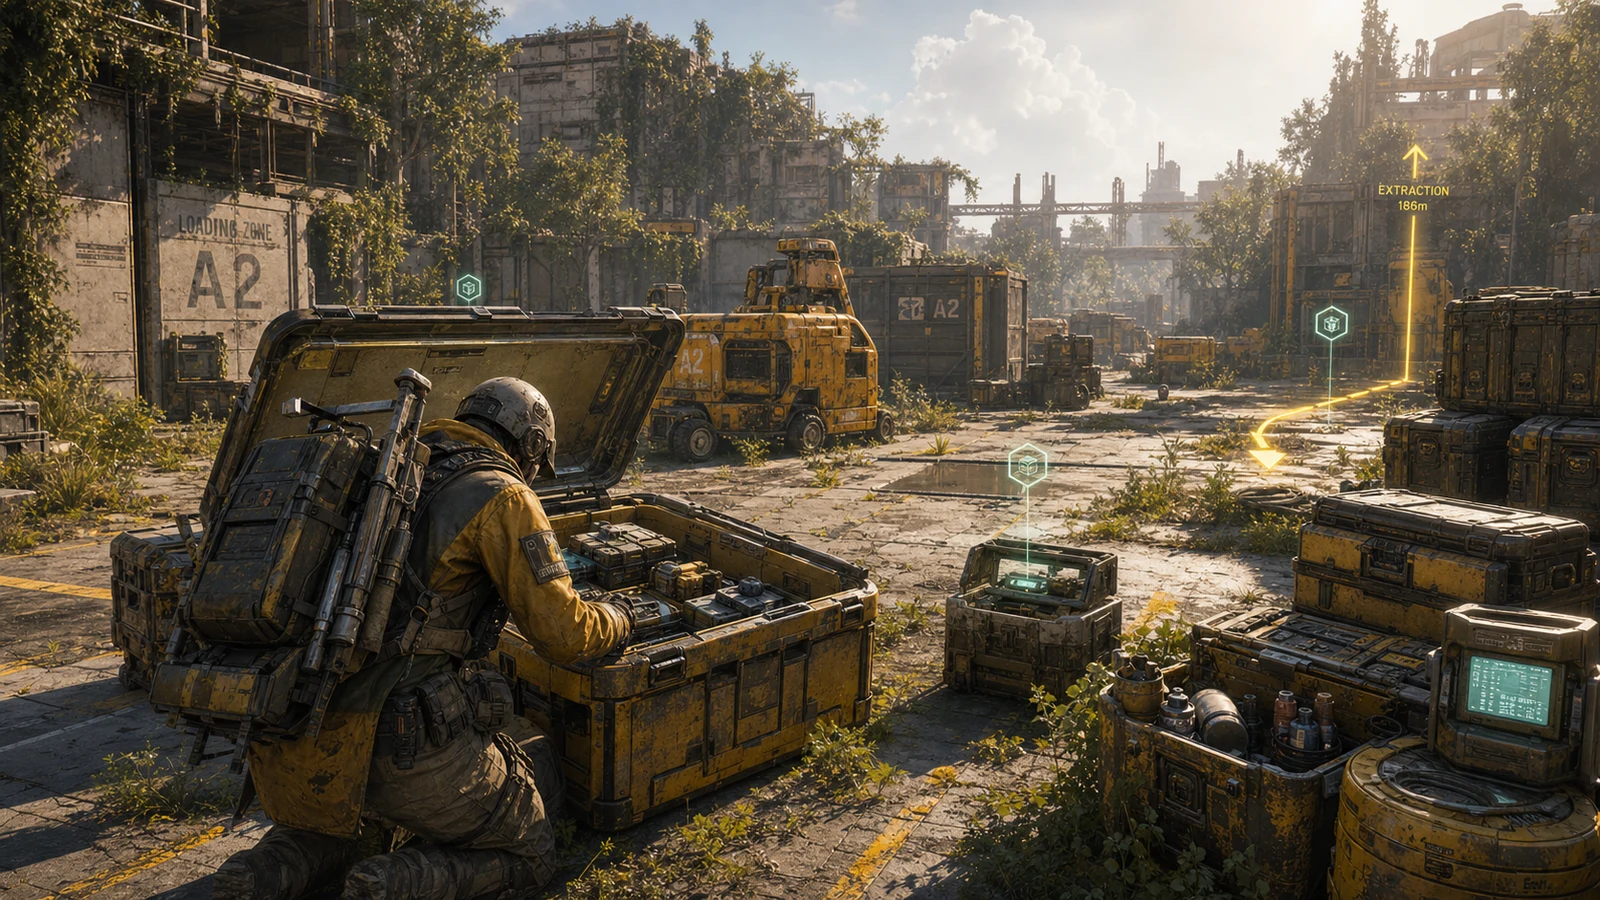
For Harvesting
Makes scavenging extremely easy and efficient. Lacks survivability but speeds up leveling through high-value loot extraction.
Use BuildEssential allocations for your skill tree journey
Arc Raiders is a punishing game where every stat point matters. Going into a raid with an unoptimized build can mean losing your hard-earned gear. Using our skill tree builder is the safest way to experiment with different combinations of Mobility, Survival, and Conditioning without spending in-game currency on resets.
Whether you are a solo player looking for the best solo skill tree to play stealthily, or a squad leader optimizing for team buffs, planning ahead is the key to victory. Our tool allows you to: