Turtle Crawl
5/5Less damage while downed.
Taxi2g Turtle 86p allocates 26 Mobility, 27 Conditioning and 33 Survival. Turtle Crawl is maxed for reduced damage while downed; the 33-point Survival branch adds more loot and carry options than the listed 81-point turtle. Treat this as a target build if your account has fewer than 86 points.
Tankier 86-point setup built around Turtle Crawl, recovery layers, and durable late-fight survivability.
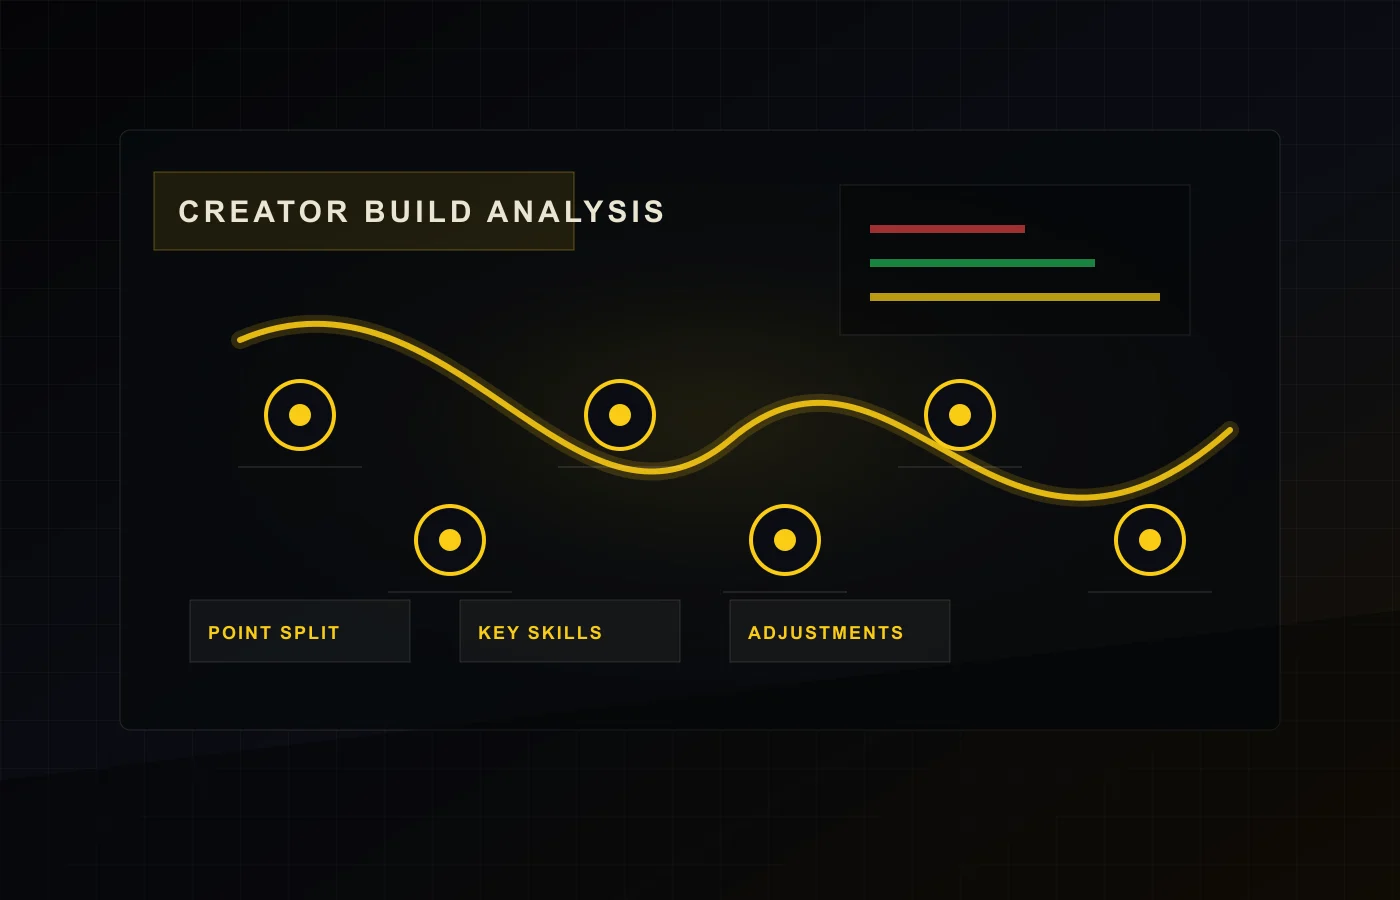
Build analysis
Taxi2g / 86-point Turtle control route / 86 points
Planner allocation checked; current game-patch compatibility and original creator publication remain unverified.
Creator
Tankier 86-point setup built around Turtle Crawl, recovery layers, and durable late-fight survivability.
Point split
Mobility / Conditioning / Survival distribution.
Listed date
Site-listed date. The exact creator post and its publication date have not been independently verified.
Less damage while downed.
Regain stamina when hurt.
Moving around costs less stamina.
Wearing a shield doesn't slow you down as much.
Max weight increased.
Field craft items topside.
Analysis revised:
The listed Taxi2g Turtle 86p route spends 26 Mobility, 27 Conditioning and 33 Survival points. Its defining choice is Turtle Crawl at five ranks, alongside five ranks of Crawl Before You Walk. In the planner's skill descriptions, the first reduces damage while downed and the second increases crawling speed while downed. These are two distinct effects that share a condition: you must already be downed. Neither description promises less damage while standing or immunity to being finished.
That distinction matters when deciding whether the route fits your raids. A player expecting a general-purpose armor upgrade could spend points for the wrong reason. This page interprets the stored configuration, not a measured survival improvement. The original creator publication and compatibility with the current game patch have not been independently verified. Compare the planner with current in-game descriptions before using the route.
The build is not composed only of downed-state effects. Nimble Climber, Marathon Runner and Youthful Lungs each receive five ranks. Effortless Roll receives four, while Carry The Momentum and Vigorous Vaulter receive one each. Those choices address movement, stamina and specific movement conditions according to the planner. They give you a separate set of decisions to evaluate before relying on the turtle component.
Conditioning includes five ranks each in Used To The Weight, Fight Or Flight and Proficient Pryer. Read their conditions individually. Used To The Weight concerns the slowdown associated with wearing a shield; it is not additional inventory capacity. Fight Or Flight restores a fixed amount of stamina when hurt and has a cooldown. Proficient Pryer concerns breaching time. Putting these skills in the same branch does not make their benefits interchangeable.
One plausible use case is a squad that plans how to reach and recover a downed teammate. The crawling choices may be relevant to that recovery situation, but they do not establish that a rescue will be possible. Cover, enemy pressure, teammate position and the decision to attempt a revive remain external to the skill allocation. Discuss those conditions with the squad instead of treating the build name as a rescue guarantee.
For solo sessions, first ask what practical opportunity you expect after becoming downed. If your usual losses leave no realistic recovery path, downed-state investment may address a less useful stage of the encounter than movement or looting choices would. That is a reason to compare alternatives, not a claim that turtle skills are universally wrong for solo players. Your actual situation determines whether their activation condition is useful.
The 33-point Survival branch includes five ranks in Looter's Instincts, Silent Scavenger, Broad Shoulders, Looter's Luck and Three Deep Breaths. Stubborn Mule is present at one rank. This is important when comparing the route with a configuration that puts more into carrying-related stamina: Broad Shoulders and Stubborn Mule do different jobs. One increases maximum carry weight; the other changes the stamina-regeneration penalty while over-encumbered.
Do not assume that maxing Broad Shoulders also maxes every benefit of carrying a heavy load. Similarly, Silent Scavenger describes noise while looting, not complete silence during movement. The route therefore combines several useful-looking activities without making them unconditional. Inspect the ones you actually repeat and decide which limitations you can accept.
| Allocation | Mobility | Conditioning | Survival | Comparison question |
|---|---|---|---|---|
| Turtle 86p | 26 | 27 | 33 | Will the downed-state choices be useful in my sessions? |
| PvE 86p | 26 | 20 | 40 | Will I use the deeper looting and carrying choices? |
Both routes use 86 points and 26 Mobility, making them a useful starting comparison. The seven-point difference between Conditioning and Survival describes the net allocation change, not a ready-made seven-click conversion. Their individual nodes differ. In the listed PvE route, Stubborn Mule has five ranks and Security Breach is selected; the turtle route instead includes Turtle Crawl at five ranks. Open both trees before deciding that one is simply the other with a single skill swapped.
For a squad-recovery emphasis, keep the downed-state skills visible while checking whether the rest of the route matches your assigned job. If you are usually watching approaches rather than opening containers, some utility choices may be less central. Identify the exact skill and prerequisite cost before moving points; the role description alone cannot validate a replacement.
For a loot-oriented session, compare the existing PvE 86-point route rather than improvising a swap from branch totals. Record which funded nodes you would gain and lose. For an account with fewer points, start with the budget difference and preserve a legal route. Removing five points yields an 81-point target; removing ten yields a 76-point target. Neither calculation determines which nodes you should remove.
Use the planner's prerequisite checks whenever you remove a node or lower a rank. Preserve the original link and save your adaptation separately. The existing 86-to-76 guide provides a worked budget example, but it should not be described as an official creator recommendation or an automatic answer for every playstyle.
Before spending points in game, check your actual account budget, the imported 26/27/33 split and the ranks that define the turtle route. After editing, reopen the new share link and confirm those values again. Describe any performance expectation as something to test. The verified fact here is the planner allocation; the usefulness of its downed-state investment remains a decision about how you and your teammates play.
Recommended templates for every playstyle
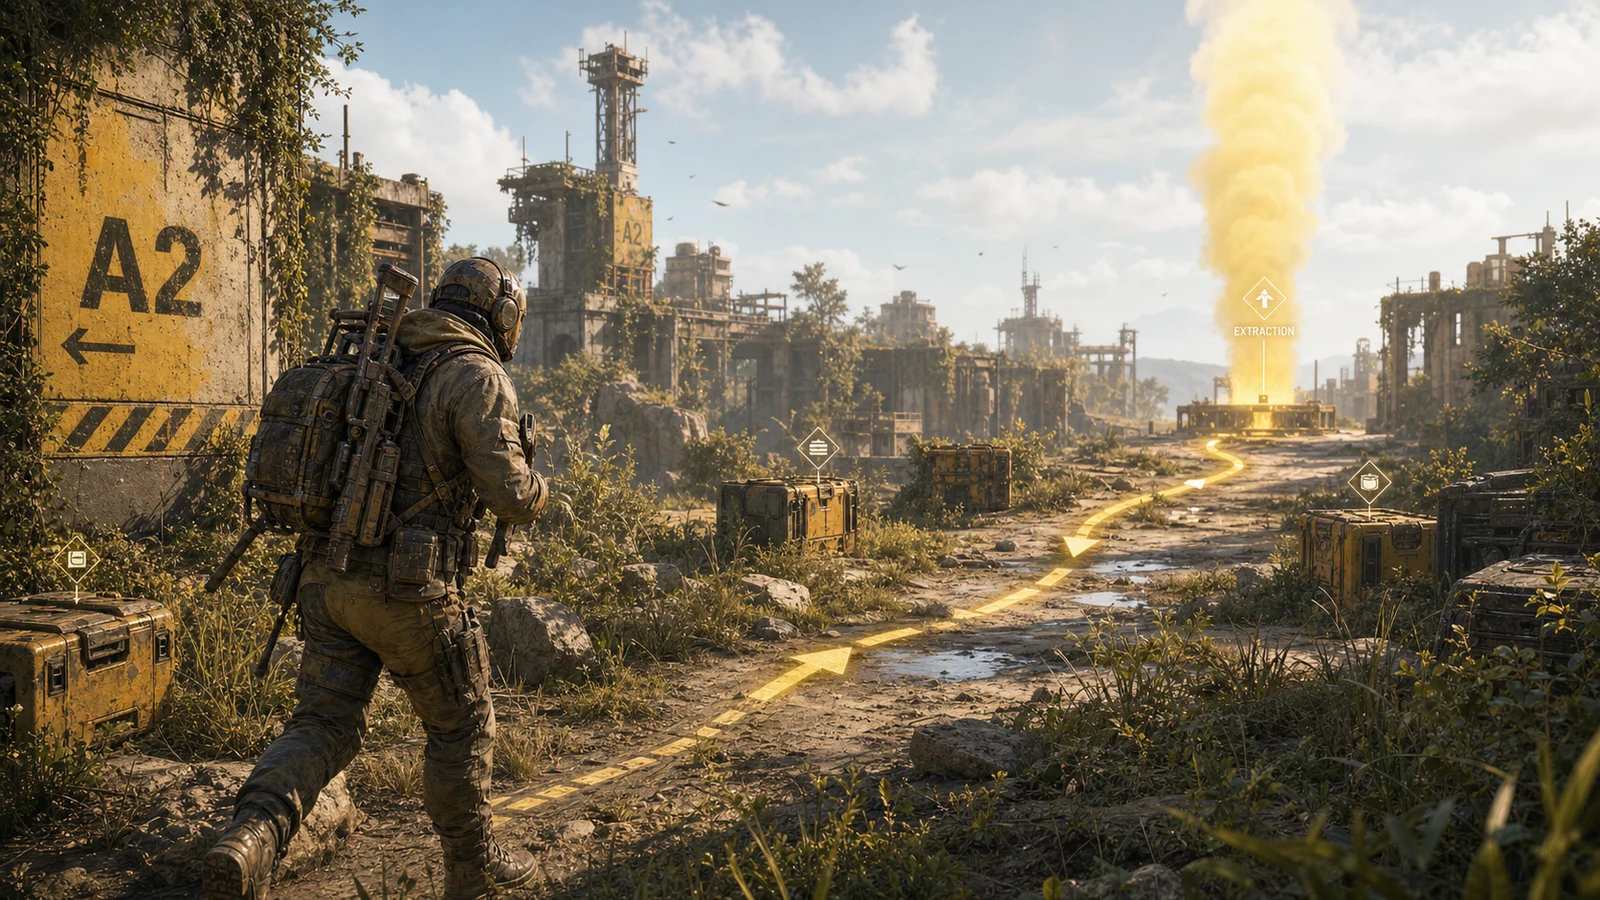
For Survival
Focuses on survivability and looting. Escape fights, regenerate stamina, and find more loot to make the most of your solo runs.
Use Build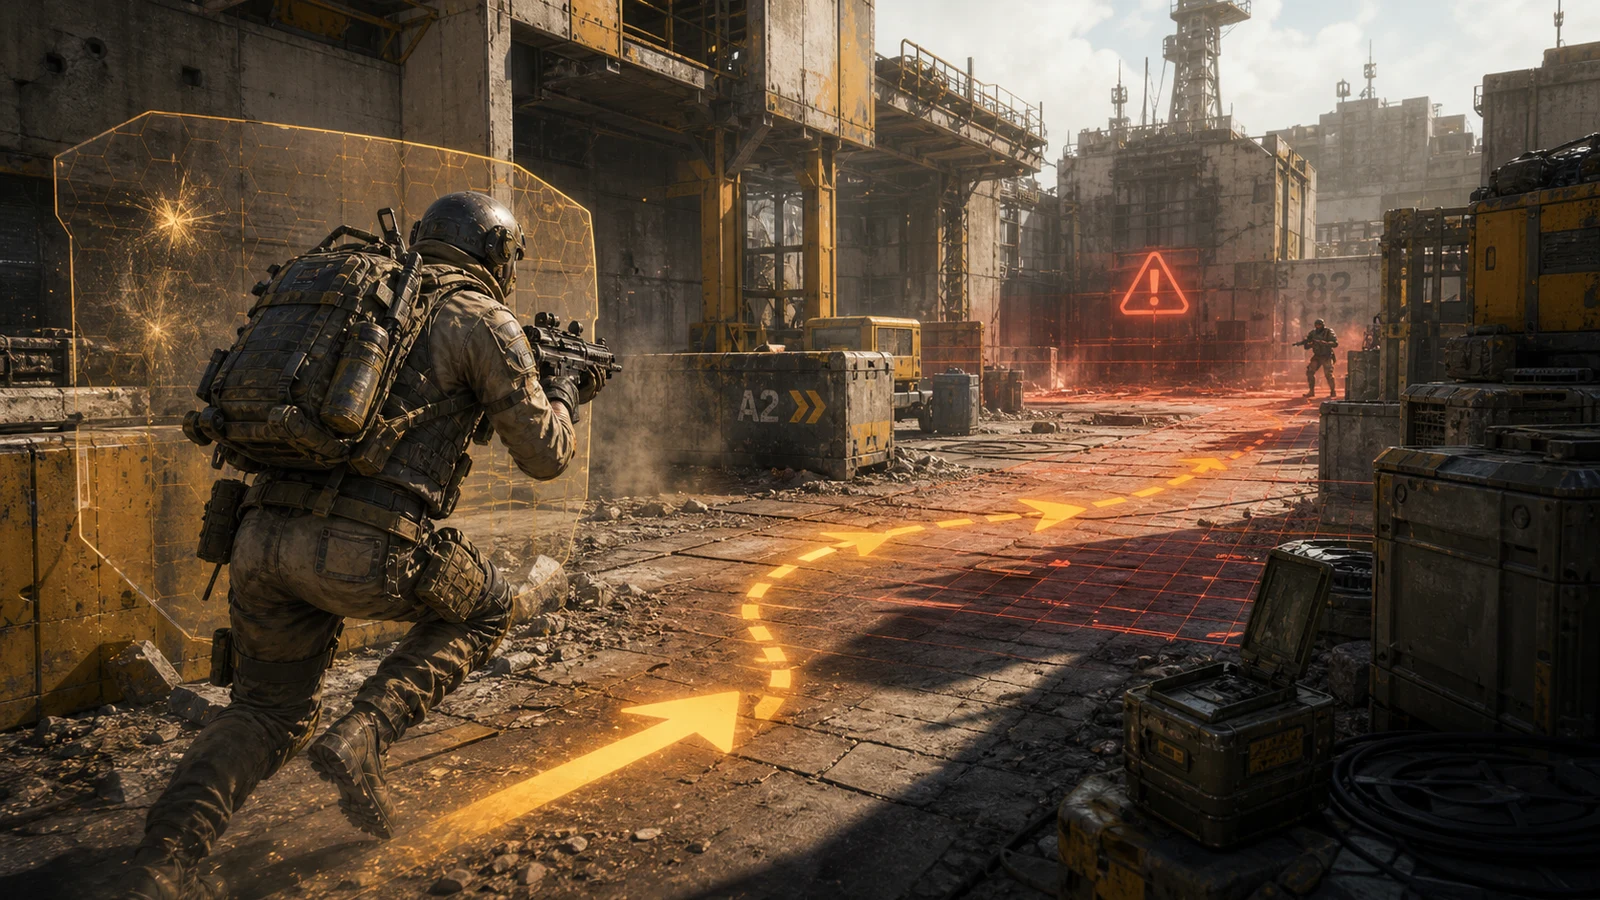
For Competitive
Focuses on movement and survival perks to give you an edge on movement and stamina recovery during combat. Designed for high-end PvP.
Use Build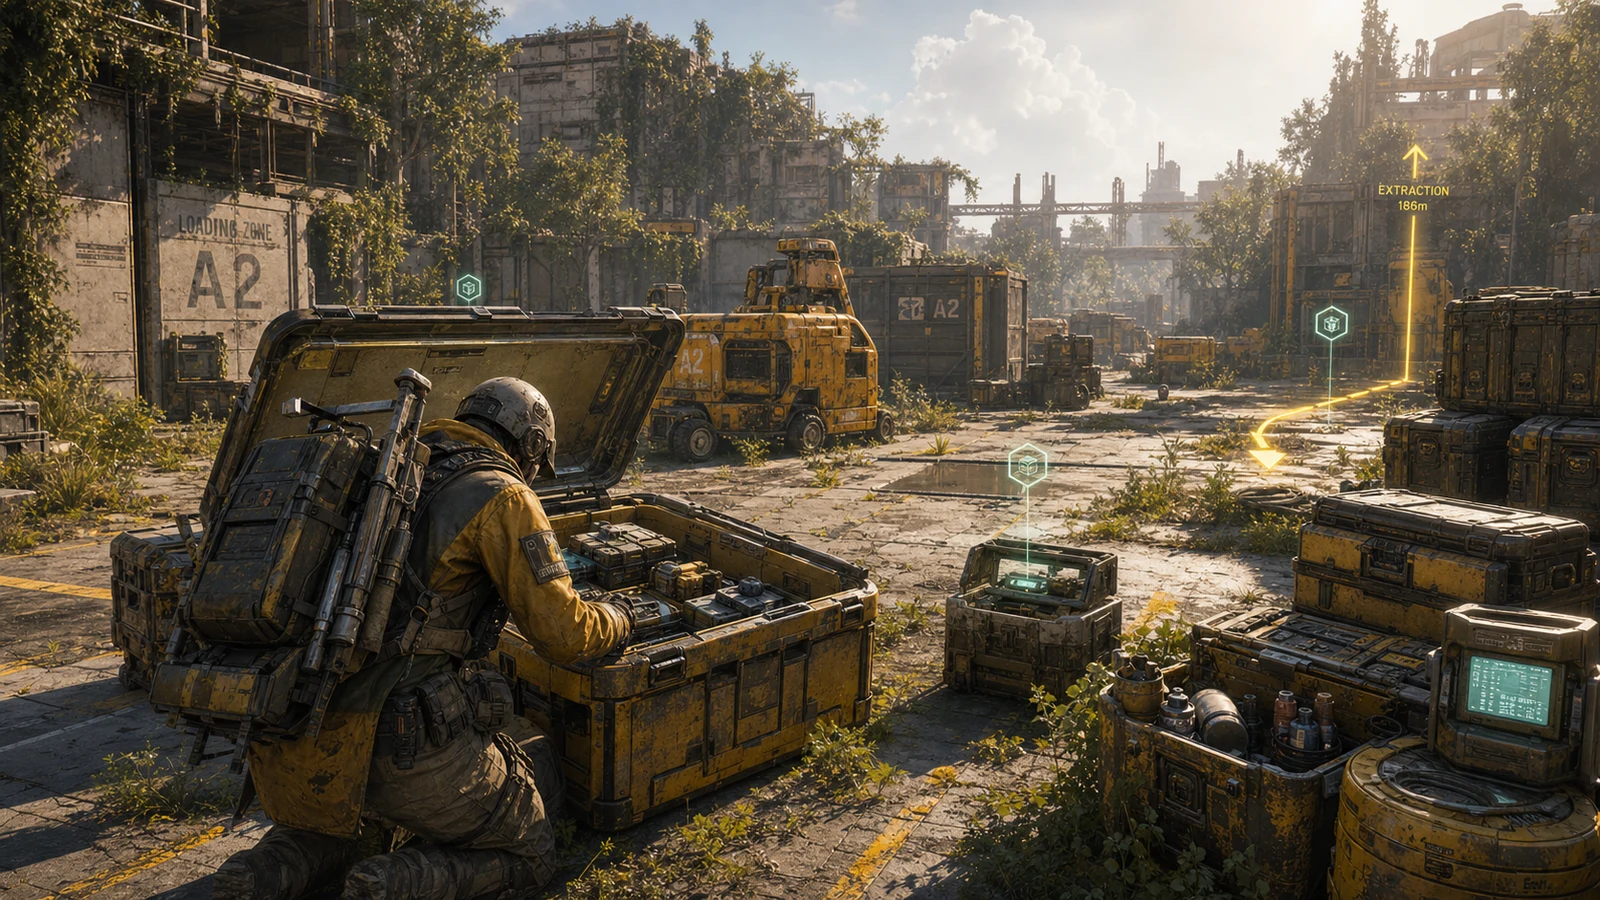
For Harvesting
Makes scavenging extremely easy and efficient. Lacks survivability but speeds up leveling through high-value loot extraction.
Use BuildEssential allocations for your skill tree journey
Arc Raiders is a punishing game where every stat point matters. Going into a raid with an unoptimized build can mean losing your hard-earned gear. Using our skill tree builder is the safest way to experiment with different combinations of Mobility, Survival, and Conditioning without spending in-game currency on resets.
Whether you are a solo player looking for the best solo skill tree to play stealthily, or a squad leader optimizing for team buffs, planning ahead is the key to victory. Our tool allows you to: